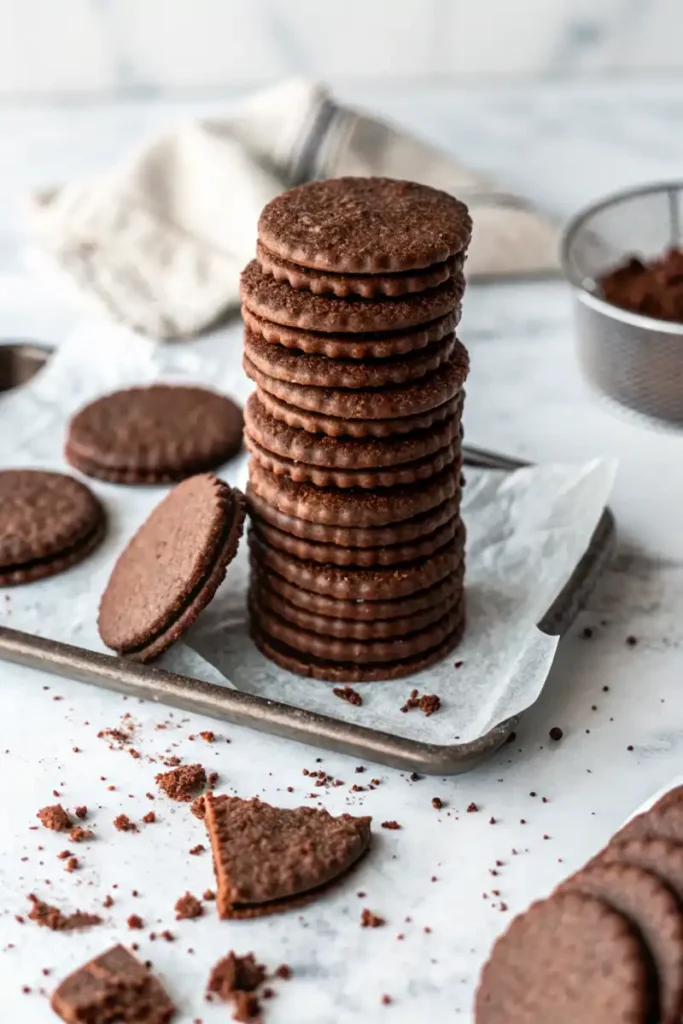
Ah, chocolate wafer cookies! Who doesn’t love those thin, crispy cookies that bring a burst of rich cocoa flavor with every bite? These delightful treats are the unsung heroes of the dessert world, lending their magic to everything from no-bake icebox cakes to homemade chocolate sandwich cookies. Whether you’ve got a craving for something sweet or you’re brainstorming ideas for a dessert masterpiece, chocolate wafer cookies are the versatile companion you never knew you needed.
In this guide, we’ll dive into all the tips, tricks, and recipes you need to master these light dessert wafers. Plus, you’ll uncover fun ways to use them in your baking repertoire. Ready to bake some joy? Let’s get started!
JUMP TO
Easy Homemade Chocolate Wafer Cookies Recipe
Ingredients for the Perfect Wafer Cookies
Before you begin, gather these simple, pantry-friendly ingredients:
- 1 cup (125g) all-purpose flour
For structure and a light, crispy texture. - ½ cup (50g) unsweetened cocoa powder
The key to that rich chocolatey flavor. - ½ teaspoon baking soda
Helps create those delicate, crisp edges. - ¼ teaspoon salt
Enhances the cocoa flavor beautifully. - ¾ cup (150g) granulated sugar
Adds sweetness while caramelizing for crunch. - ½ cup (115g) unsalted butter, softened
For a melt-in-your-mouth finish. - 1 large egg
Binds the ingredients for the perfect dough. - 1 teaspoon pure vanilla extract
A subtle touch to elevate the chocolate.

Step-by-Step Recipe Instructions
1. Preheat the oven and prep your workspace.
Set your oven to 350°F (175°C) and line two baking sheets with parchment paper. This ensures even baking and prevents sticking.
2. Mix the dry ingredients.
In a medium bowl, whisk together the flour, cocoa powder, baking soda, and salt. Be thorough—no one likes a surprise pocket of baking soda in their cookie!
3. Cream the butter and sugar.
In a larger bowl, beat the softened butter and granulated sugar until light and fluffy. This step is crucial for achieving thin, crispy cookies. Add the egg and vanilla, mixing until smooth.
4. Combine wet and dry ingredients.
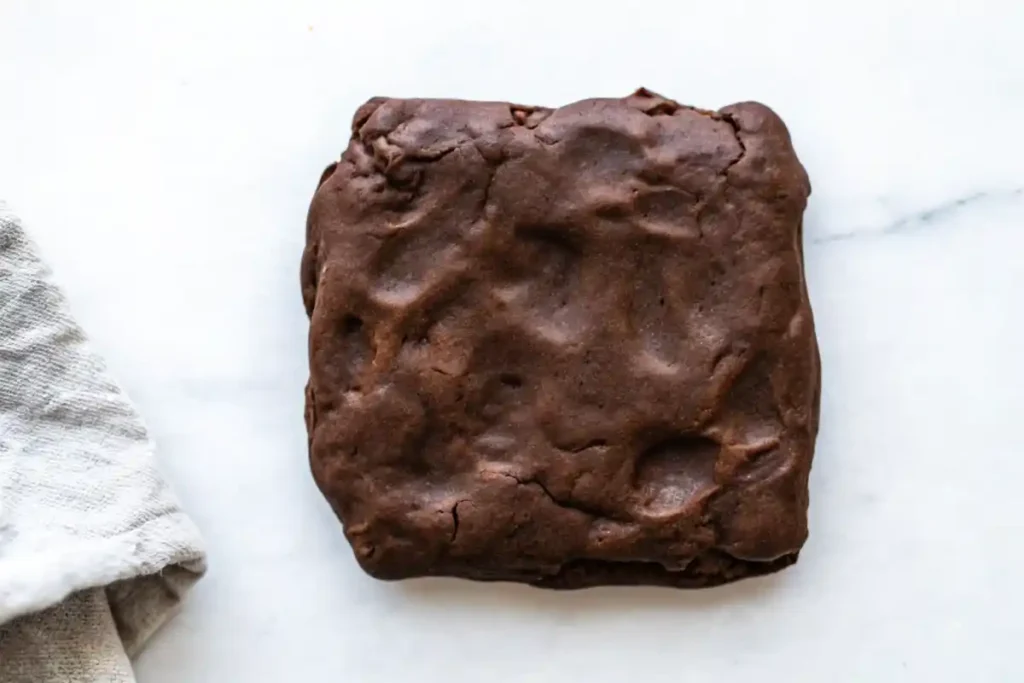
Gradually add the dry mixture to the wet ingredients. Mix on low speed until a cohesive dough forms. It’ll be thick but pliable—perfect for rolling.
5. Shape and roll the dough.
Divide the dough in half and roll each portion between sheets of parchment paper until it’s about ⅛ inch thick. The thinner, the better for those iconic crispy chocolate wafers. Chill the rolled dough in the refrigerator for 15-20 minutes.
6. Cut and bake.
Using a round cookie cutter (about 2 inches in diameter), cut out circles from the dough. Transfer them carefully to the prepared baking sheets, spacing them about an inch apart. Bake for 8-10 minutes or until the edges look set.
7. Cool completely.
Let the cookies cool on the baking sheet for 5 minutes before transferring them to a wire rack. This helps them firm up and achieve that perfect crunch.
Popular Recipes Using Chocolate Wafer Cookies
Icebox Cakes
If there’s one dessert that truly celebrates the charm of chocolate wafer cookies, it’s the classic icebox cake. This no-bake treat is as simple as it is indulgent, layering crispy wafers with fluffy whipped cream for a dessert that softens into creamy, dreamy perfection over time. Start by whipping up some fresh cream with a hint of sugar and vanilla until soft peaks form. On a serving platter, arrange a layer of thin crispy cookies, and top with a generous dollop of whipped cream. Repeat the layers until your cake is the desired height, then cover it and let it chill in the fridge for at least 4 hours (overnight is even better). The result? A melt-in-your-mouth dessert that’s both elegant and incredibly easy to prepare. Want a twist? Try adding cocoa powder, coffee, or fruit to the cream layers for added flavor.
Chocolate Wafer Pie Crusts
A buttery chocolate wafer pie crust is a game-changer for elevating your favorite pies. To make one, crush about 25 chocolate layered biscuits into fine crumbs using a food processor or a resealable bag and rolling pin. Mix the crumbs with 6 tablespoons of melted butter and 2 tablespoons of sugar until the mixture resembles wet sand. Press the crumb mixture firmly into a pie dish, spreading it evenly along the bottom and up the sides. Bake the crust in a 350°F (175°C) oven for 8-10 minutes, then let it cool completely before adding your filling. This crust pairs beautifully with cheesecakes, chocolate mousse pies, or even fruity tarts for a sophisticated contrast.
Chocolate Sandwich Cookies
Why settle for store-bought sandwich cookies when you can make your own with homemade chocolate wafers? Simply spread a layer of vanilla buttercream or cream cheese frosting onto one cookie, then top it with another to create a decadent sandwich treat. Want to get creative? Experiment with flavored fillings like mint, espresso, or peanut butter. These chocolate layered biscuits also make adorable mini desserts for parties or gifts when dipped in melted chocolate and decorated with sprinkles.
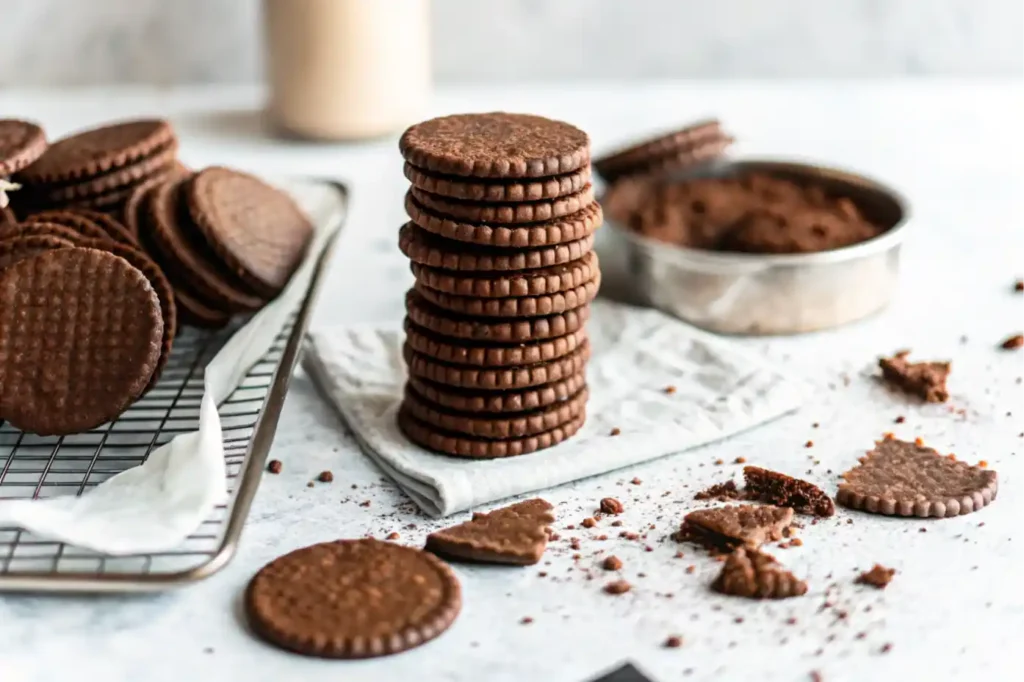
Creative Twists for Chocolate Wafer Cookies
Flavored Wafer Variations
Why stick to plain chocolate when you can experiment with bold and exciting flavors? By incorporating small tweaks to the basic recipe, you can transform chocolate wafer cookies into an entirely new experience. For instance, adding a teaspoon of peppermint extract to the dough creates a festive minty flavor, perfect for holiday treats. If you’re a coffee lover, mix in a tablespoon of instant espresso powder for a mocha-inspired twist. Want to go fruity? A pinch of orange zest adds a refreshing citrusy contrast to the rich cocoa flavor. Don’t be afraid to get creative—your taste buds will thank you.
Diet-Friendly Options
Looking for ways to make your favorite cocoa wafer snacks fit your dietary needs? With a few clever swaps, you can easily craft gluten-free or vegan versions of these delightful cookies. For a gluten-free option, replace the all-purpose flour with a 1:1 gluten-free baking flour blend. The result is just as crisp and delicious, with no compromise on texture. For a vegan alternative, use plant-based butter and a flaxseed egg (1 tablespoon of ground flaxseed mixed with 2.5 tablespoons of water). Vegan vanilla extract and dairy-free cocoa powder ensure your cookies are entirely plant-based. Who says indulgence can’t be inclusive?
Decorative Ideas for Desserts
Chocolate wafer cookies are not just tasty—they’re also versatile for decorating! Crush them into fine crumbs and sprinkle over ice cream, frosted cakes, or puddings for added crunch and flavor. Use whole wafers to create dramatic garnishes on trifles or mousse cups, or crumble them as a textured topping for no-bake cheesecakes. Feeling extra creative? Dip the edges of the cookies in melted chocolate and coat them with chopped nuts or colorful sprinkles for a touch of flair.
Storage and Shelf Life of Chocolate Wafer Cookies
How to Store Homemade Cookies
Once you’ve baked a batch of chocolate wafer cookies, keeping them fresh and crisp is key to enjoying their signature crunch. After the cookies have cooled completely, store them in an airtight container at room temperature. Adding a small piece of parchment paper between layers can help prevent sticking. For best results, keep the container in a cool, dry place away from direct sunlight. Proper storage ensures your thin crispy cookies retain their delightful texture for up to one week.
Freezing Tips for Long-Term Storage
If you’ve made extra or want to plan ahead, freezing your light dessert wafers is a fantastic option. Arrange the cookies in a single layer on a baking sheet and freeze until solid. Once frozen, transfer them to a resealable freezer bag or airtight container. This method prevents the cookies from sticking together and allows you to grab as many as you need. Frozen cookies can last up to three months without losing flavor. When you’re ready to enjoy them, simply let the cookies thaw at room temperature for about 15 minutes, and they’ll be as crisp as the day you baked them.
Signs Your Cookies Have Gone Stale
Even with proper storage, cookies can sometimes lose their crispness over time. If your chocolate wafer cookies start to feel soft or taste bland, don’t worry—they’re not destined for the trash! Instead, repurpose them into a delicious crumb topping for yogurt, ice cream, or fruit desserts. A quick toast in the oven at 300°F (150°C) for 5 minutes can also revive their crunch.
Nutritional Insights and Healthier Baking Alternatives
Nutritional Overview
Chocolate wafer cookies are a delightful indulgence, but knowing what’s in your treat can help you enjoy them mindfully. A typical serving of thin crispy cookies (about 3 wafers) contains approximately 140 calories, 6 grams of fat, and 10 grams of sugar. While they’re not exactly a health food, they’re a lighter option compared to many desserts. Plus, their small size makes portion control easy—you can enjoy a little sweetness without overindulging.
Healthier Ingredients for Guilt-Free Enjoyment
Want to satisfy your chocolate craving while sneaking in some extra nutrients? It’s easier than you think! By swapping a few key ingredients, you can transform your light dessert wafers into a better-for-you treat.
- Whole-Grain Flour: Replace all-purpose flour with whole-wheat pastry flour to add fiber and nutrients while keeping the cookies light and crisp.
- Natural Sweeteners: Use coconut sugar or maple syrup instead of granulated sugar for a more natural sweetness. These options also lend a subtle caramel flavor to your cookies.
- Dairy Alternatives: For a lower-fat option, substitute the butter with Greek yogurt or a plant-based spread.
- Low-Sugar Variations: Reduce the sugar by a third and add a pinch of cinnamon or vanilla to maintain flavor without sacrificing sweetness.
Boosting Nutrition with Add-Ins
Get creative and make your cocoa wafer snacks more nutritious with a few simple add-ins. Mix in a tablespoon of chia seeds or ground flaxseeds for a boost of omega-3s and fiber. You can also fold in finely chopped nuts like almonds or walnuts for extra crunch and protein.
Conclusion
Chocolate wafer cookies have an enduring charm that’s hard to resist. Whether you’re savoring their crisp texture on their own or using them as the foundation for a decadent dessert, these treats remain a favorite for home bakers and sweet lovers alike. Even though Nabisco’s Famous Chocolate Wafers are no longer available, their legacy lives on through homemade recipes, creative substitutes, and the joy they bring to every bite.
Baking your own thin crispy cookies allows you to put a personal touch on these versatile treats. From crafting a perfect icebox cake to experimenting with flavored variations or dietary-friendly options, the possibilities are endless. Plus, the process of baking can be just as enjoyable as the end result—especially when you share your creations with loved ones.
So, roll up your sleeves, gather those ingredients, and let your culinary creativity shine. Who knows? Your next batch of light dessert wafers could be the start of a new family tradition or the inspiration for a crowd-pleasing recipe. Happy baking!
Frequently Asked Questions About Chocolate Wafer Cookies
Did Nabisco stop making chocolate wafer cookies?
Yes, Nabisco has officially discontinued their Famous Chocolate Wafers. This news came as a disappointment to many devoted fans and bakers who cherished these iconic chocolate layered biscuits. While Nabisco hasn’t provided a detailed explanation, companies often phase out products to make room for new offerings. But don’t worry—there are plenty of substitutes and recipes to keep your desserts delicious!
What can I use in place of Nabisco chocolate wafer cookies?
If you’re recreating a recipe that calls for Nabisco’s Famous Chocolate Wafers, there are excellent alternatives. Oreo cookies (scrape off the filling first) mimic the same rich chocolate flavor and crisp texture. Chocolate graham crackers or thin chocolate biscuits also work well. And if you’re up for a bit of baking, try making your own homemade chocolate wafer cookies using a simple recipe. They’re fresher, customizable, and taste just as amazing.
How do I keep chocolate wafer cookies crisp after baking?
The secret to maintaining that irresistible crunch lies in proper storage. Always let your light dessert wafer cool completely before placing them in an airtight container. If you’re in a humid environment, adding a small food-safe desiccant packet can help absorb moisture and keep the cookies fresh. If they start to soften, a quick toast in the oven for a few minutes will restore their crispness.
Can chocolate wafer cookies be made gluten-free?
Absolutely! You can easily make gluten-free cocoa wafer snacks by substituting the all-purpose flour with a gluten-free baking blend. Ensure the blend contains xanthan gum or another binder to maintain the cookie’s structure. Gluten-free versions taste just as delicious and are a great option for those with dietary restrictions.
