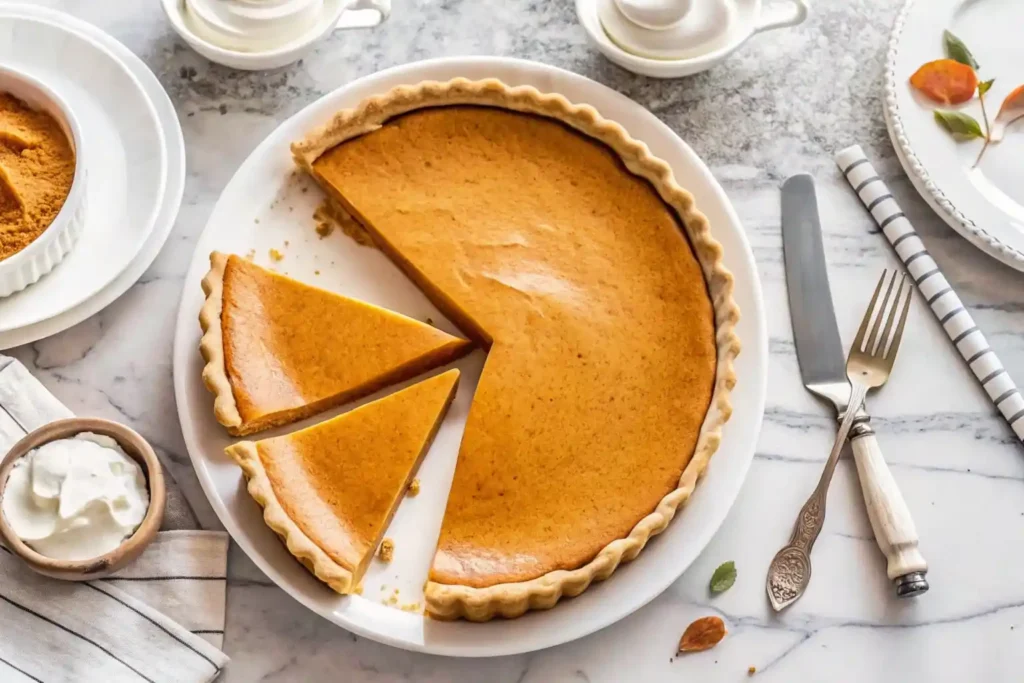
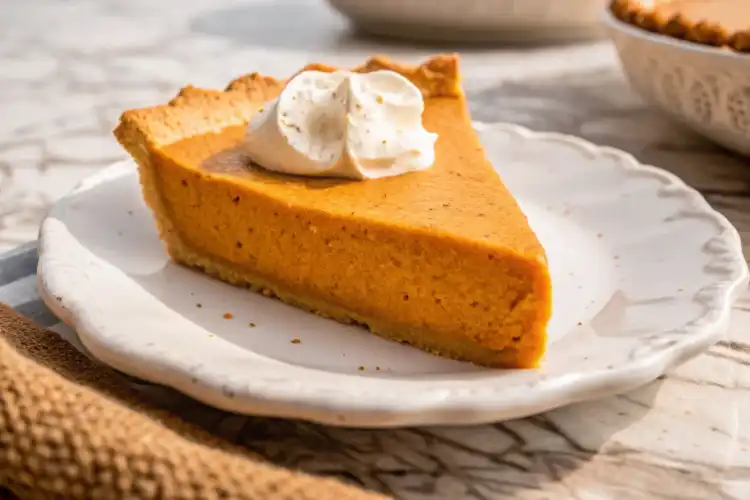
Who doesn’t love a dessert that’s as easy as pie—literally? If you’ve been searching for the perfect no-bake treat that screams autumn, you’re in the right place. This no bake pumpkin pie is here to save you time, effort, and oven space while still delivering all the creamy, spiced goodness you crave. Whether you’re a baking newbie or just short on time, this recipe will have you feeling like a pro.
JUMP TO
Why You’ll Love This No Bake Pumpkin Pie
A Time-Saving Fall Favorite
This dessert is perfect for when life gets hectic, yet you still want to serve something show-stopping. It’s effortless, quick, and completely foolproof—no oven required. Seriously, what’s not to love?
Perfect for Beginners and Busy Bakers
Even if you’ve never made a pie before, this recipe is a walk in the park. With just a few simple steps and readily available ingredients, you’ll have a dessert that looks and tastes like it came from a bakery.
Effortless Desserts for Any Occasion
Hosting a gathering? Or maybe you’re just in the mood for a cozy, sweet treat on a chilly night? This no bake pumpkin pie fits the bill. If you love desserts that are simple yet stunning, you might also enjoy our 3-Ingredient No Bake Cheesecake. It’s another no-fuss option that pairs perfectly with pumpkin-spiced lattes.
A Dessert for All Seasons
While it’s a fall classic, this pie can shine year-round. The creamy texture and rich flavor are sure to win over even the toughest dessert critics. Plus, it’s a fabulous way to use that canned pumpkin puree lingering in your pantry. Stay tuned for the secret tricks that make this pie a true crowd-pleaser!
Ingredients You’ll Need
The Essential Ingredients
Creating the perfect no bake pumpkin pie starts with a handful of staple ingredients. You don’t need anything fancy—just some pantry favorites and a touch of creativity. Here’s what you’ll need to whip up this dreamy dessert:
- 1 pre-made graham cracker crust (store-bought or homemade)
Tip: A pre-made crust saves time, but you can also make one using crushed graham crackers, sugar, and melted butter. - 1 cup of canned pumpkin puree
Ensure it’s pure pumpkin, not pumpkin pie filling (they’re different!). - 1 package (8 oz) of cream cheese (softened)
This adds richness and stability to the filling. - 1 cup of heavy whipping cream
For that light, fluffy texture. - ½ cup of granulated sugar
Adjust based on your desired sweetness. - 1 tsp pumpkin pie spice
The ultimate fall flavor booster! - 1 tsp vanilla extract
Adds depth to the flavor. - Optional toppings: Whipped cream, crushed nuts, or a sprinkle of cinnamon.
Want to go lighter or dairy-free? Check out these Substitutes for Heavy Cream for some easy swaps.
Step-by-Step Guide: How to Make No Bake Pumpkin Pie
Prepare the Crust
The foundation of any great pie is the crust, and this one’s no exception. If you’re using a store-bought graham cracker crust, you’re already a step ahead. But for those who prefer a homemade touch:
- Combine Ingredients: Mix 1 ½ cups of crushed graham crackers, ⅓ cup of granulated sugar, and 6 tablespoons of melted butter in a bowl.
- Press Into a Pie Dish: Firmly press the mixture into a 9-inch pie dish, ensuring an even layer along the bottom and sides.
- Chill: Place the crust in the fridge for at least 30 minutes to set.
Mix the Filling
This is where the magic happens! The filling combines creamy, spiced flavors with a luscious texture. Here’s how to do it:
- Beat the Cream Cheese: In a mixing bowl, use an electric mixer to beat the softened cream cheese until smooth and fluffy.
- Add Sugar and Pumpkin: Gradually mix in the sugar and canned pumpkin puree. Continue beating until fully combined and creamy.
- Season the Mixture: Stir in the pumpkin pie spice and vanilla extract. Adjust the spice to suit your taste for that perfect fall aroma.
- Whip the Cream: In a separate bowl, beat the heavy whipping cream until stiff peaks form.
- Fold Together: Gently fold the whipped cream into the pumpkin mixture, taking care not to deflate the airy texture.
Assembling the Pie
Now it’s time to bring everything together:
- Pour the Filling: Spoon the pumpkin filling into the prepared crust, smoothing the top with a spatula.
- Add Toppings: For an extra touch, garnish with whipped cream, crushed nuts, or a light dusting of cinnamon.
- Chill to Perfection: Refrigerate the pie for at least 4 hours, or overnight if you can wait. This allows the flavors to meld and the filling to set beautifully.
Refrigeration Time
Patience is key! Letting the pie chill thoroughly is essential to achieving that creamy, sliceable texture. Trust us—your taste buds will thank you.
For another creamy no-bake idea, try our Tiramisu Overnight Oats. It’s like dessert for breakfast! Keep reading for pro tips on making your no bake pumpkin pie shine.

Tips for the Best No Bake Pumpkin Pie
Achieving the Perfect Texture
To get a smooth and creamy filling, ensure the cream cheese is fully softened before mixing. Cold cream cheese can leave lumps, and no one wants that in their dessert! Folding the whipped cream gently into the filling is also crucial for maintaining the light, airy texture that makes this pie so irresistible.
Avoiding a Soggy Crust
If you’re using a homemade crust, press it firmly into the pie dish to create a compact base. Pre-chilling the crust before adding the filling helps it hold its shape and prevents it from becoming soggy.
Make It Ahead
This pie is a dream for planners! You can make it the night before your event, giving it plenty of time to chill and set. In fact, the flavors only get better with a little extra time to meld.
Add a Decorative Touch
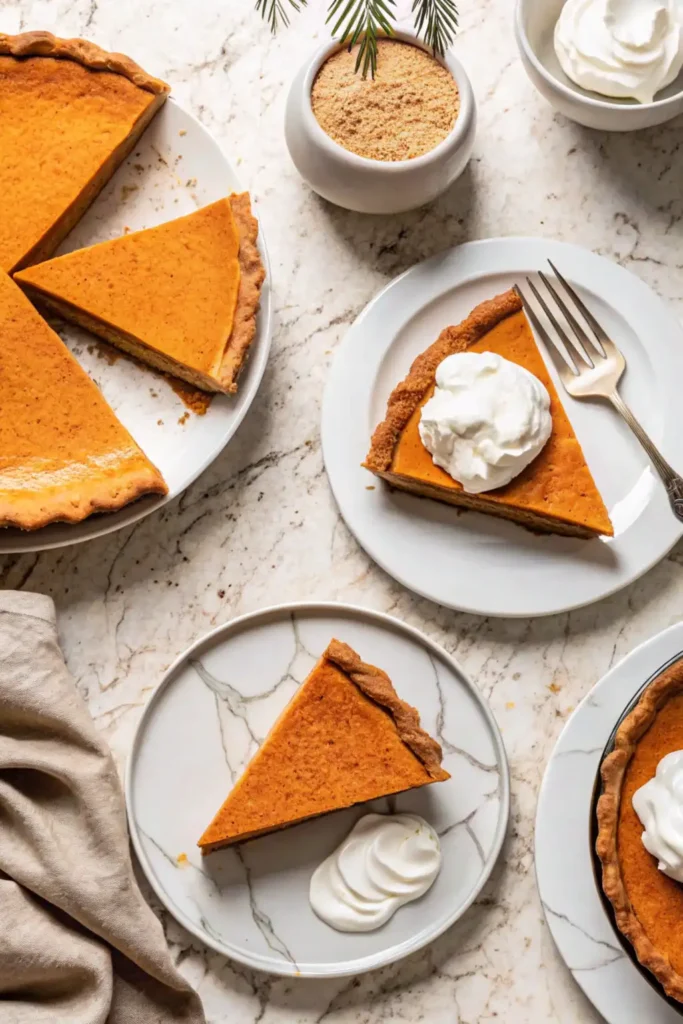
Elevate your pie’s presentation by adding beautiful toppings. A dollop of whipped cream, a sprinkle of pumpkin pie spice, or even crushed pecans can make your dessert look as amazing as it tastes. You might even be inspired by the decorative flair in our Sweet Potato Cornbread recipe.
Health Benefits of Pumpkin
Packed with Nutrients
Pumpkin isn’t just delicious—it’s a nutritional powerhouse! Rich in vitamin A, thanks to its high beta-carotene content, pumpkin supports healthy vision and boosts your immune system. It’s also loaded with fiber, which helps keep you feeling full and promotes digestion.
Low in Calories, High in Flavor
One of the best things about pumpkin is how it brings rich, sweet flavor to dishes without adding a lot of calories. It’s a smart choice for desserts, especially when paired with lighter ingredients like whipped cream or low-sugar alternatives.
A Fall Superfood
Beyond its festive appeal, pumpkin is also full of antioxidants, which help fight inflammation and keep your body healthy. This makes it an excellent ingredient for recipes that are as good for your body as they are for your taste buds.
For more nutritious ideas, consider our Cottage Cheese Cookie Dough, another recipe that sneaks healthy ingredients into your dessert lineup!
Pumpkin vs. Other Fall Favorites
Compared to other seasonal ingredients, pumpkin stands out for its versatility. Whether you’re blending it into smoothies, soups, or this no bake pumpkin pie, it’s a true autumn staple. If you enjoy experimenting with seasonal recipes, try pairing pumpkin with hearty fall flavors like the ones in our Sourdough Cinnamon Rolls.
Adding pumpkin to your diet is an easy way to enjoy something sweet while reaping its many health benefits!
Variations and Creative Twists
Vegan No Bake Pumpkin Pie
Making this dessert vegan is easier than you might think! Swap the cream cheese for a plant-based alternative and use coconut whipped cream instead of dairy-based heavy cream. For the crust, opt for a vegan graham cracker option or press a mix of dates and nuts into the pie dish for a naturally sweet base. The result? A creamy, indulgent pie that everyone can enjoy.
Low-Sugar Options
If you’re watching your sugar intake, there are simple ways to make this pie healthier without sacrificing flavor. Replace the granulated sugar with a natural sweetener like stevia, monk fruit, or maple syrup. These alternatives blend seamlessly into the filling while keeping it just sweet enough.
Add a Unique Twist
Looking to wow your guests? Try these creative add-ons and modifications:
- Chocolate Lovers: Drizzle melted chocolate over the top or add a layer of chocolate ganache between the crust and filling.
- Spicy Kick: Sprinkle a touch of cayenne pepper into the filling for a subtle warmth that complements the pumpkin spice.
- Caramel Dream: Swirl caramel sauce over the filling before chilling for a decadent finish.
Personalized Toppings
The beauty of no bake pumpkin pie is how easy it is to customize. Add toasted pecans, crushed ginger snaps, or even a sprinkle of sea salt for a gourmet touch. For more ideas, take inspiration from our Strawberry Crunch Cake Recipe, which uses decorative layers to elevate the final presentation.

Storage and Freezing Instructions
How to Store in the Fridge
This no bake pumpkin pie is best enjoyed chilled, and the fridge is your go-to spot for keeping it fresh. Once assembled, cover the pie tightly with plastic wrap or foil to prevent it from absorbing any odors. It can stay fresh for up to 4 days in the refrigerator, but honestly, it probably won’t last that long—it’s too delicious!
Freezing for Later
If you’re prepping ahead or have leftovers (lucky you!), freezing is a fantastic option. Here’s how to do it:
- Slice for Convenience: Cut the pie into individual slices before freezing. This makes it easier to thaw just what you need.
- Wrap It Up: Wrap each slice in plastic wrap, then place them in an airtight container or freezer bag.
- Label and Freeze: Write the date on the container so you know when you froze it. This pie can be stored in the freezer for up to 2 months.
Thawing Tips
When you’re ready to enjoy, transfer a slice to the fridge and let it thaw overnight. For a quicker option, let it sit at room temperature for about 20 minutes before serving. It’ll taste just as creamy and delightful as the day you made it!
Serving After Freezing
After freezing, the texture might be slightly firmer, but the flavors remain intact. Add a fresh dollop of whipped cream or a sprinkle of cinnamon on top to bring it back to life.
Conclusion
Making a no bake pumpkin pie is like discovering the ultimate shortcut to dessert heaven. It’s easy, quick, and delivers all the creamy, spiced flavors you love without the hassle of baking. Whether you’re hosting a holiday dinner, need a last-minute treat, or simply want a no-fuss dessert, this pie has you covered.
With its customizable options, health benefits from pumpkin, and a texture that’s smooth as silk, it’s sure to become a go-to favorite in your recipe collection. So, why not give it a try? Gather your ingredients, whip it up, and see just how effortless creating a show-stopping dessert can be.
Don’t forget to share your pie-making experience or any creative twists you tried in the comments. Your next favorite recipe might just be one click away!
Frequently Asked Questions
Does canned pumpkin need to be baked?
No, canned pumpkin doesn’t need to be baked before using it in recipes like no bake pumpkin pie. Canned pumpkin is already cooked and pureed, making it safe to eat straight from the can. It’s incredibly versatile and perfect for quick recipes that don’t require baking.
Can you eat canned pumpkin pie filling without cooking?
Yes, you can eat canned pumpkin pie filling without cooking, but keep in mind that it’s pre-seasoned and slightly sweetened for baking. It’s safe to consume as is, but it might taste better when incorporated into recipes or spiced up to match your preferences.
How do you keep the bottom crust on a pumpkin pie from getting soggy?
To prevent a soggy crust, make sure to press your crust firmly into the pie dish and chill it before adding the filling. For no-bake pies, chilling is essential, but for baked pies, pre-baking the crust and brushing it lightly with an egg wash can help create a barrier to keep it crisp.
Is it necessary to pre-bake pie crust for pumpkin pie?
If you’re making a baked pumpkin pie, pre-baking the crust (also known as blind baking) is recommended to prevent it from becoming soggy. However, for a no bake pumpkin pie, pre-baking is unnecessary. The crust firms up naturally in the fridge, making it ready for the creamy filling.

